One of SFTP Gateway’s greatest advantages is its versatility; through the use of add-ons and custom solutions, the functionality of SFTP Gateway can be expanded to make tasks more efficient and user-friendly.
For instance, the PGP Decryption add-on automates the process of downloading and decrypting a PGP encrypted file and then uploads the new decrypted file. In this article, I will walkthrough the process of deploying the PGP Decryption add-on for SFTP Gateway on AWS, Azure, and GCP.
Jump to:
PGP stands for Pretty Good Privacy and is commonly used to encrypt emails and files. PGP uses public-key cryptography, which means that public keys are used to encrypt data while private keys are used to decrypt data.
There are multiple implementations of the OpenPGP standard, one of which is GnuPG, or GPG for short. The PGP Decryption Add-On for SFTP Gateway reads the private key and uses GPG to automatically decrypt incoming files.
Installing the PGP Decryption Add-on in SFTP Gateway for AWS
Requirements
Before starting, double-check that you have the following:
git installed
docker installed
AWS cli installed
An AWS account that can:
Create IAM roles
Create Lambda functions
Create ECR repositories
Push to ECR repositories
Create S3 buckets
Preparation
Before setting up the Lambda, we’re going to create some resources that you’ll need later on in the process.
First, we need to create an IAM role for the Lambda function.
Search for and then select the permission”AWSLambdaBasicExecutionRole“
It also needs a custom policy with permissions to:
ListBucket
PutObject
GetObject
DeleteObject
Press “Next”
Give the role a name then press “Create role”
This role will be given to the Lambda function in order to give it permissions to upload and download files, as well as to write to CloudWatch logs.
Next, we need to create S3 buckets that will be used in the Lambda. If the buckets you wish to use are already created, skip this step.
You will need a bucket for the encrypted files, one for decrypted files, and one for the encryption key file. Although it is not recommended, you may choose the same bucket for multiple or for all three positions. Remember the bucket names for later.
To create a new bucket:
Give this new repository a name, then press “Create repository”
This repository will store our soon-to-be-created container images. The repository’s page has a list of commands which we want to use later, so stay on this page.
Build and Push Container Image
Since we will use Lambda to run a container image, we must create the container image first and push it to ECR.
Start by cloning the source repository to your local computer.
Make sure you are authenticated to the AWS cli. Once you are logged in to AWS, you can login to docker
Go back to your repository in the AWS console.
Press “View push commands” button and copy it
Return to the terminal where you logged in to the AWS cli then paste and execute the command
Select the repository you made earlier and choose the latest container image
Make sure to open the dropdown menu, set the execution role to “use existing”, and select the one you made earlier
Press “Create function”
After a minute, the function should be created. However, we still need to set its triggers and configuration settings.
First, let’s add the triggers:
Inside the lambda, press “Add trigger”
Select “S3”
In the “Bucket” selection, choose the bucket to be used for encrypted files
Make sure “event type” is set to “All object create events”
Set the suffix to “.pgp”
Acknowledge the warning then press “Add”
Repeat this step and add a new trigger with the same settings except with a suffix of “.gpg”
Next, we’ll set the general configuration settings:
From the lambda page, click the “Configuration” tab and then the “General configuration” section
Press “Edit”
Set the memory to 2048 MB
Set the ephemeral storage to 5120MB
Set the timeout to 1 minute
Press “Save”
You may set the memory, timeout, and ephemeral storage to any value you wish, but I recommend 2 GB for memory, 5 GB for ephemeral storage, and 60 seconds for the timeout.
Finally, we have to add environment variables:
From the lambda page, click the “Configuration” tab and then the “Environment variables” section
Press “Edit” and press “Add environment variable” for each environment variable to be added. The following must be set:
PGP_KEY_LOCATION – Name of the bucket which contains the encryption key file location
PGP_KEY_NAME – File-path to the encryption key file (including folders). EX: A file named “private.asc” in a folder named “keyfolder” would require PGP_KEY_NAME to be set to “keyfolder/private.asc”.
PGP_PASSPHRASE – Passphrase associated with the encryption key.
DECRYPTED_DONE_LOCATION – Name of bucket where decrypted files should be moved to after decryption.
Installing the PGP Decryption Add-on in SFTP Gateway for Azure
Requirements
Before starting, double check that you have the following:
git installed
docker installed
A Docker Hub account
An Azure account that can:
Create a resource group
Create a storage account
Create a function app
Grant IAM permissions
Preparation
Before setting up the Function App, we’re going to create some resources that you’ll need later on in the process.
First, create a resource group to contain all of these new resources. If you have an existing resource group which you wish to use, skip this step.
Now that you have a resource group, we need to create a storage account inside of it. If you have an existing storage account which you wish to use, skip this step.
Choose the resource group you made in the previous step
Give the new storage account a name
Press “Review + create” then press “Create”
Lastly, your storage account needs containers. You will need a container for the encrypted files, one for decrypted files, and one for the encryption key file. Although it is not recommended, you may choose the same container for multiple or for all three positions. Remember the container names for later.
To create a new container:
Open the storage account from the prior step
Select the “Containers” section
Press the “+ Container” button
Give the new container a name
Press “Create”
Build and Push Container Image
Since we will use Function App to run a container image, we must create a container image and push it to Docker Hub.
Clone the source repository to your local computer using git.
Now login to the docker cli with:
After a minute, the app should be visible. Now we need to configure it.
Enter the new function app
Scroll down and select the “App Service logs” section
Set Application logging to “File System”. Make sure to hit save before moving on.
Open the storage account you created
Select the “Access Keys” section and copy the connection string for use in the environment variables
Select the “Configuration” section and add environment variables. The following need to be set (make sure to hit save before moving on):
AZURE_STORAGE_CONNECTION_STRING – The connection string to the storage account
PGP_KEY_LOCATION – Name of the container which contains the encryption key file location
PGP_KEY_NAME – File-path to the encryption key file (including folders). EX: A file named “private.asc” in a folder named “keyfolder” would require PGP_KEY_NAME to be set to “keyfolder/private.asc”.
PGP_PASSPHRASE – Passphrase associated with the encryption key.
ENCRYPTED_SOURCE_LOCATION – Name of container where encrypted files are to be uploaded.
DECRYPTED_DONE_LOCATION – Name of container where decrypted files should be moved to after decryption.
Select the “Deployment Center” section
Change “Registry source” to “Docker Hub”
Enter the image name and tag in the “Full Image Name and Tag” field
Press “Save”
Installing the PGP Decryption Add-on in SFTP Gateway for GCP
Requirements
Before starting, double check that you have the following:
git installed
python 3.9 installed
A GCP account that can:
Create a service account
Create storage buckets
Give IAM permissions
Create a Google Function
Preparation
Before setting up the Google Function, we’re going to create some resources that you’ll need later on in the process.
First, we need a service account that has permissions to Cloud Storage
Select “Cloud Storage” -> “Storage Object Admin” for the role
Press Save.
Alternatively, you can give the service account access to only the buckets which will be used. After each bucket is created (in the next step):
Open the bucket’s page
Select the permissions tab
Press “Add”
Paste the email into the “New principals” box
Select “Cloud Storage” -> “Storage Object Admin” for the role
Press Save and repeat for the other buckets that will be accessed.
Next, we need to setup the buckets that will be used in the function. You will need a bucket for the encrypted files, one for decrypted files, and one for the encryption key file. Although it is not recommended, you may choose the same bucket for multiple or for all three positions. Remember the bucket names for later.
To create a new bucket:
Remember to add the permissions to the service account for each bucket if you chose option 2 earlier.
Now that the buckets have been created, upload the encryption key file to whichever bucket is to be the key bucket. Remember the file-path to the file if you place it in folders.
Create ZIP File
Google Functions allows you to upload a ZIP file containing the source code for a function and automatically unpacks it for you. In addition, we have created a python script that creates a ZIP file containing the files needed and in the proper structure for Google Functions.
Start by cloning the source repository to your local computer and navigate to project directory which should be sftpgw-pgp-lambda.
Execute the python script make_zip.py using the command:
python3 deploy/GCP/make_zip.py
This script will create a ZIP file named “deploy/GCP/pgpGoogleArchive.zip”. Remember where it is, since it will need to be uploaded in the next section.
Make Google Function
Now that we have finished preparations and created a ZIP file of our code, we can create the Google Function.
After giving it a name, set the trigger information
Set the trigger type to “Cloud Storage”
Set the event type to “On (finalizing/creating) file in the selected bucket”
Press “Browse” and select the bucket encrypted files are to sent to
Leave the “Retry on failure” box unchecked
Press Save
This information is how the function is alerted when a file is uploaded. If you every want to change which bucket is being watched, edit this setting. Note that each function can only have one trigger.
Next is the runtime settings:
Expand the menu labeled “Runtime, build, connections and security settings”
Set “Memory allocated” to 2 GB
Set “Timeout” to 60 seconds
Open the dropdown menu labeled “Runtime service account” and select the service account you created earlier
Scroll down and press “Add Variable” for each environment variable. The following must be set:
PGP_KEY_LOCATION – Name of the bucket which contains the encryption key file location
PGP_KEY_NAME – File-path to the encryption key file (including folders). EX: A file named “private.asc” in a folder named “keyfolder” would require PGP_KEY_NAME to be set to “keyfolder/private.asc”.
PGP_PASSPHRASE – Passphrase associated with the encryption key.
DECRYPTED_DONE_LOCATION – Name of bucket where decrypted files should be moved to after decryption.
Scroll to the bottom and press “Next”
In the future, you may want to change the amount of memory available, the timeout duration, or the environment variables. If so, edit these settings.
Finally, we must select the runtime and entry point and upload the source code.
Open the dropdown menu labeled “Runtime” and select “Python 3.9”
Open the dropdown menu labeled “Source code” and select “ZIP Upload”
Press browse and select the ZIP file made previously
Choose any bucket for Stage bucket (such as the key-file bucket)
Change the Entry Point to “invoke”
Press Deploy
Wait a few minutes until the function displays a green status indicator.
Further resources related to PGP Decryption and SFTP Gateway
Trying self-hosted software normally costs you an afternoon before you’ve even decided you want it. Spin up a VM, open the right ports, work through the marketplace listing’s prerequisites, and hope the image boots the way the documentation says it will. That setup tax is
A client opens an SFTP connection and never lets go. Maybe it’s a scheduled job that lost its network path mid-transfer, maybe it’s a misconfigured script retrying without backing off; either way, the connection sits open, holding a slot on your server indefinitely. Multiply that
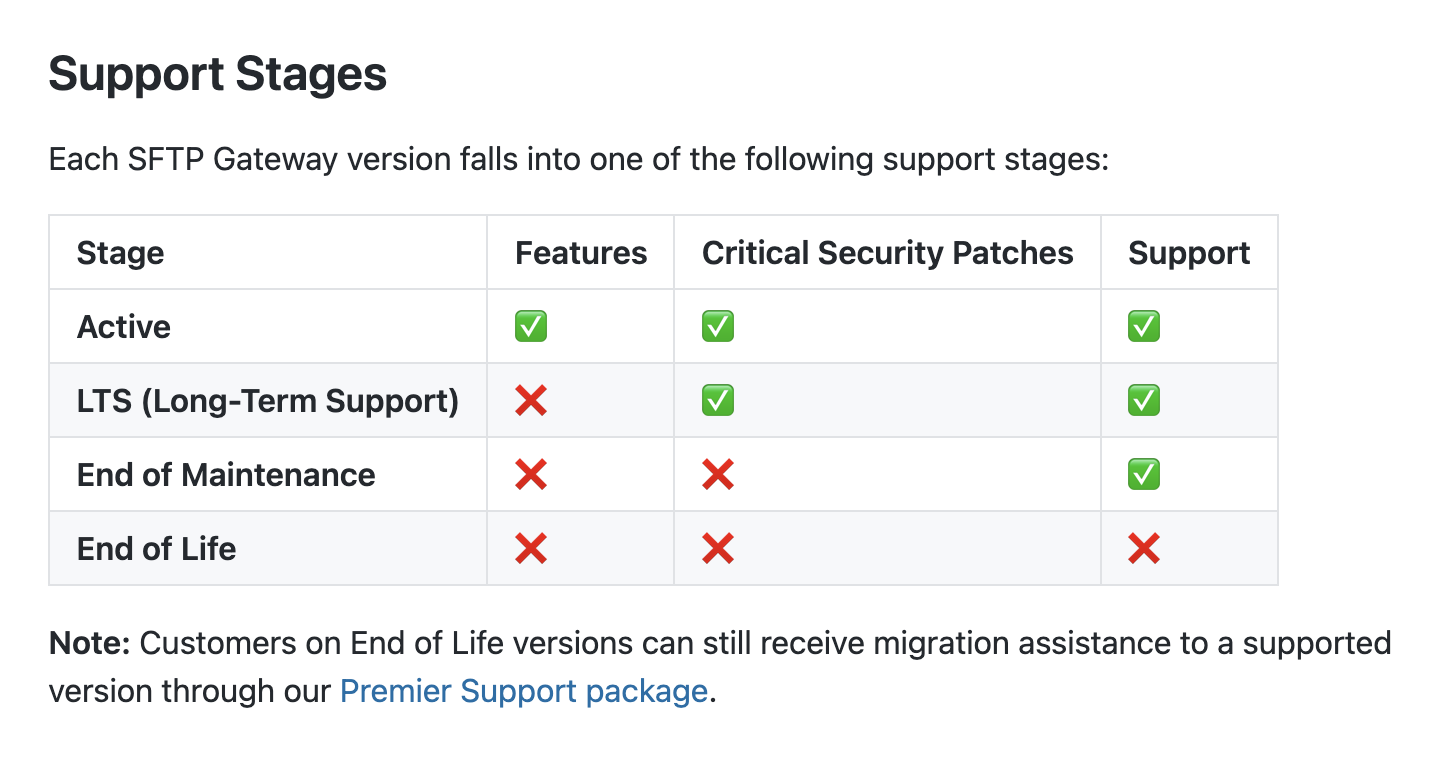
SFTP Gateway now publishes a written Product Support Lifecycle and a Version Support Calendar for every cloud marketplace, so you always know exactly how long your version stays patched, and when. Thorn Technologies is introducing the SFTP Gateway Product Support Lifecycle: a written commitment to